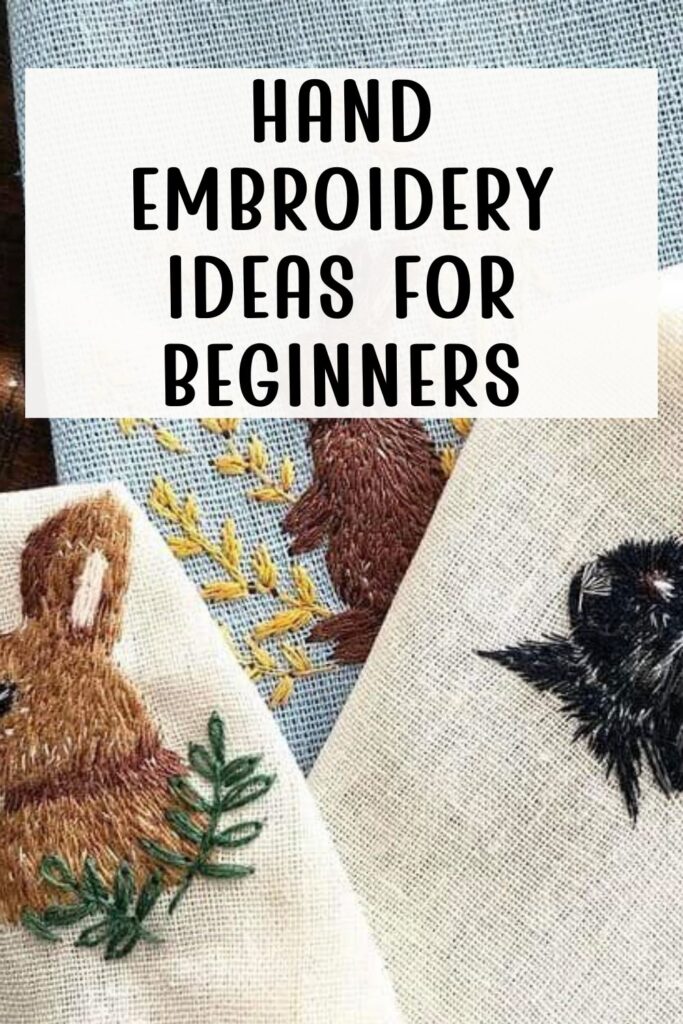
Hand Embroidery Ideas & Tips for Beginners: A Friendly Guide to Getting Started
There’s something so cozy and grounding about hand embroidery. Whenever I pick up my hoop, thread my needle, and start those first gentle stitches, I feel myself slow down. It’s one of my favorite slow-living hobbies because it doesn’t require a ton of supplies, you can curl up on the couch or stitch on the go, and the learning curve is so much gentler than most people expect.
If you’ve been wanting to start hand embroidery but aren’t sure where to begin, you’re in the right place. In this beginner-friendly guide, I’m sharing all my favorite embroidery ideas, tips, and simple techniques to help you fall in love with stitching the way I have.
Whether you’re dreaming of stitching sweet florals, decorating your clothes, or making sentimental gifts, hand embroidery is such a fun and rewarding craft. Let’s dive into all the beginner tips, ideas, and little secrets I wish I’d known when I was first learning.
Affiliate links may be used in this post, and if so, I will receive a commission at no extra cost. I’m also part of the Amazon Affiliate (Associate) program, where I earn a commission from sales made through my affiliate links. Read the full disclosure policy.
Start With the Basics: What You Actually Need
I love embroidery because the supply list is small and affordable. You truly don’t need much to get started.
Here’s what I always recommend for beginners:
- Embroidery hoop (4”–8”) — A medium size like 6″ is perfect when you’re just starting.
- Embroidery needles — Size 5–9 work well for most projects.
- Cotton fabric — Muslin, linen, or even quilting cotton are great options.
- Embroidery floss — DMC is the classic brand and super affordable.
- Fabric scissors — Small, sharp ones make a big difference.
- Water-soluble pen or pencil — For drawing your design.
- Needle threader (optional but helpful) — Especially if you use multiple strands.
Once you have these basics, you can truly make dozens of projects without buying anything else. I always tell beginners not to overthink the supplies — start simple and build as you go.
Click here to find the embroidery supplies I use and recommend!

Plan a Simple Design First
The first embroidery project you do should make you feel confident, not overwhelmed. I learned the hard way that complex designs with dozens of colors and advanced stitches can quickly take the fun out of the process. Start with something small, cute, and do-able.
For example:
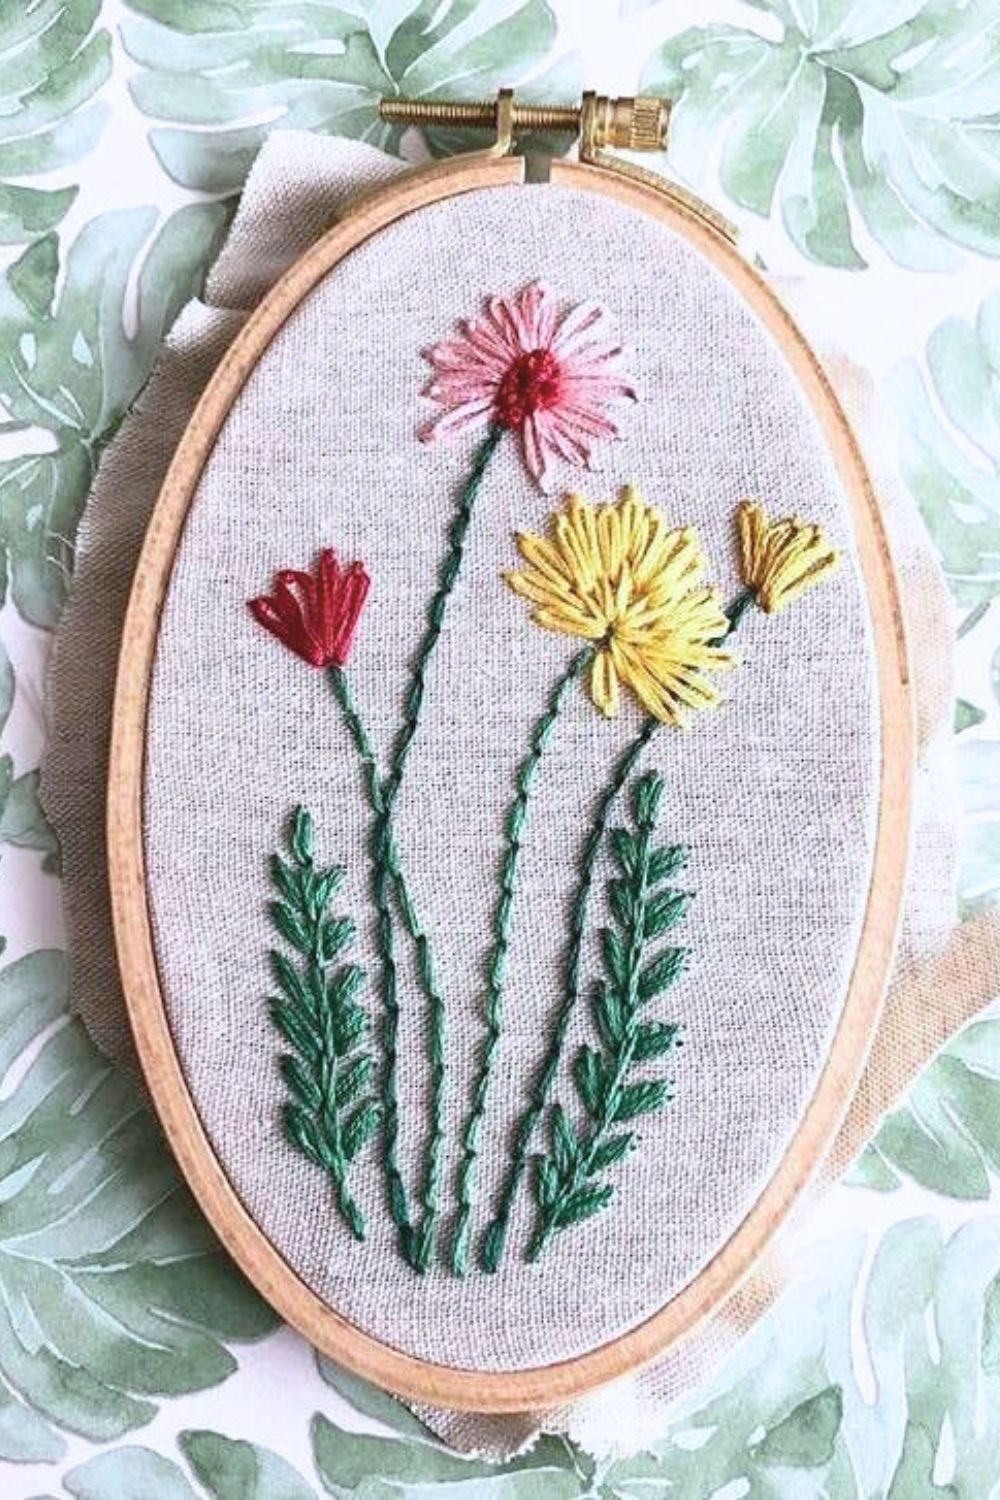
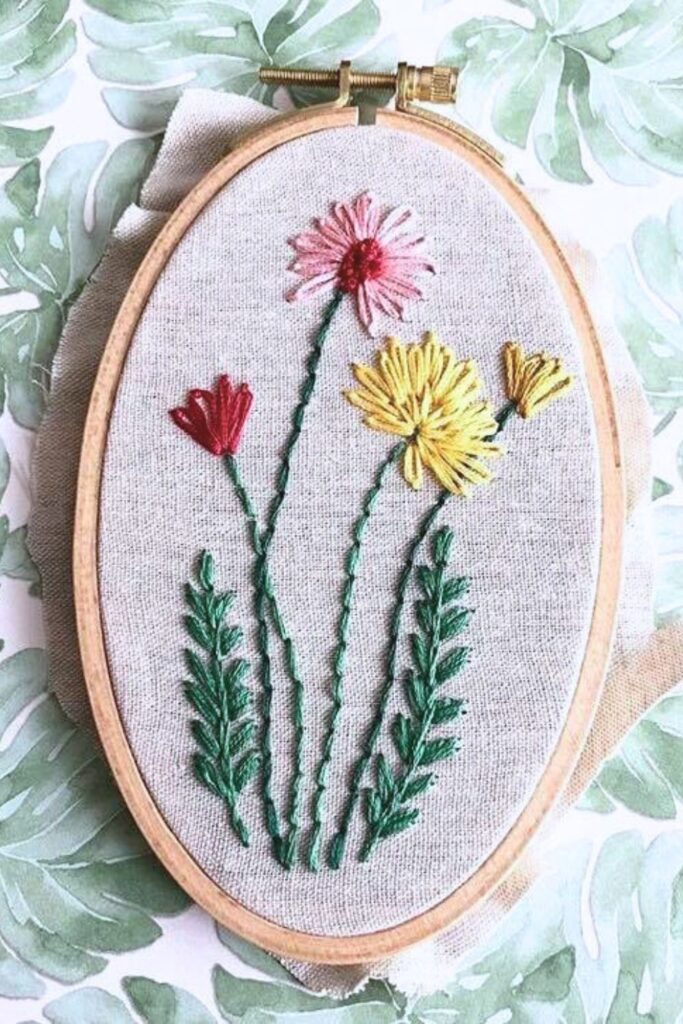
- A simple daisy or wildflower
- A minimalist line drawing face
- A monogram letter
- A little heart or star cluster
- A row of leaves and berries
- A tiny house or cottage outline
- A simple word like “joy,” “home,” or “bloom”
Even simple shapes look beautiful when stitched, and they give you the chance to practice your tension, spacing, and stitch technique without the stress.
My Favorite Beginner Stitches
When I first started stitching, I thought embroidery meant learning dozens of fancy stitches right away. The truth is, you can do incredible work with just a handful of basic stitches. Mastering these five will take you far:
1. Backstitch
This is your go-to stitch for outlines and lettering. It’s smooth, easy, and perfect for beginners.
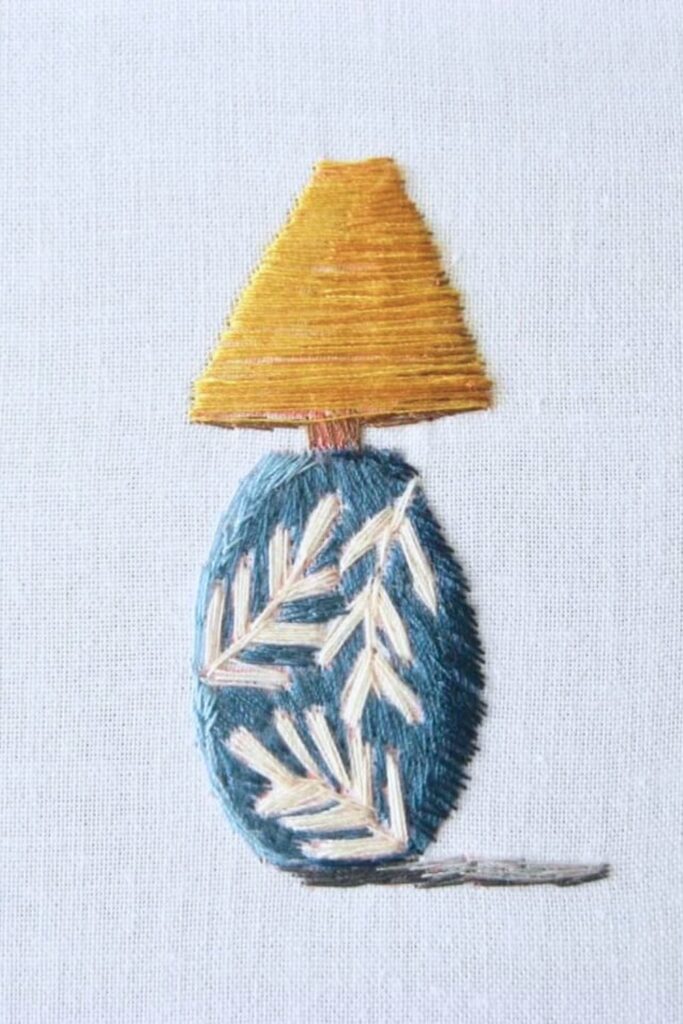
2. Satin Stitch
If you want to fill in shapes (like petals or leaves), satin stitch is your best friend. Your stitches lay neatly next to each other like little satin ribbons.
3. French Knot
Don’t let this stitch intimidate you — it becomes easy with a little practice. It adds the cutest texture and looks amazing for flower centers or tiny accents.
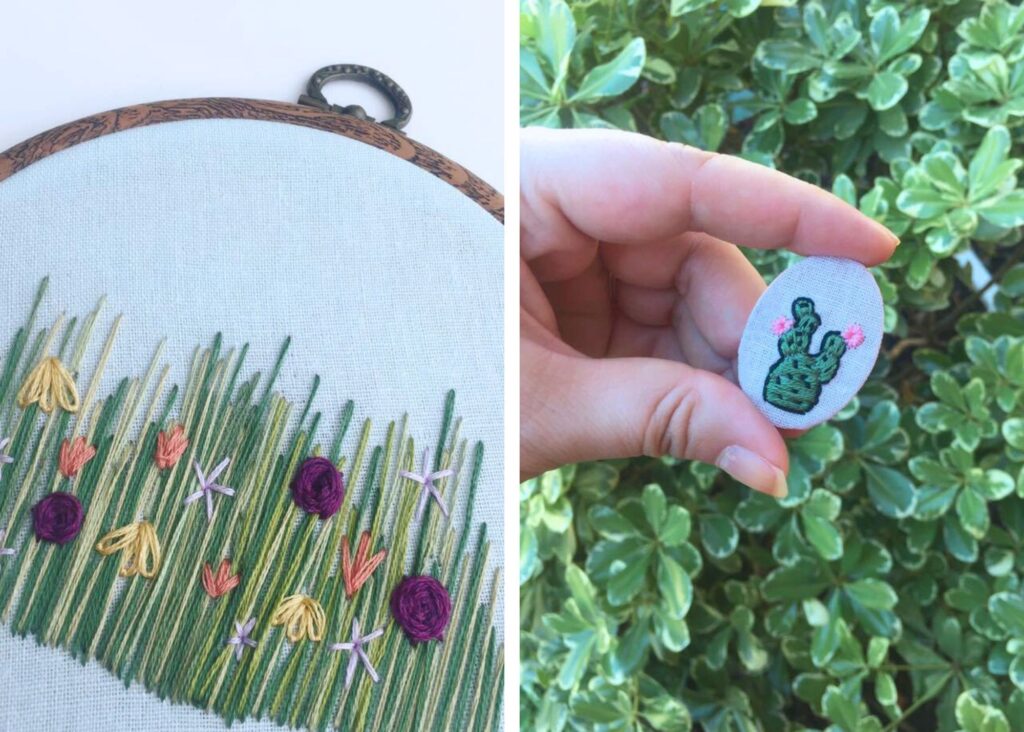
4. Lazy Daisy
This is the foundation of most floral designs. If you learn only one decorative stitch, make it this one.
5. Stem Stitch
Great for vines, borders, and script text. It gives a lovely rope-like texture that looks advanced but is very beginner-friendly.
Practice these stitches on a scrap piece of fabric before you start your main project. I still do this sometimes when I’m trying a new technique or testing a thread color.
Ideas for First Projects (Beginner-Friendly but Beautiful)
When you’re new, sometimes the hardest part is deciding what to stitch. Here are some fun, simple project ideas that beginners always love:
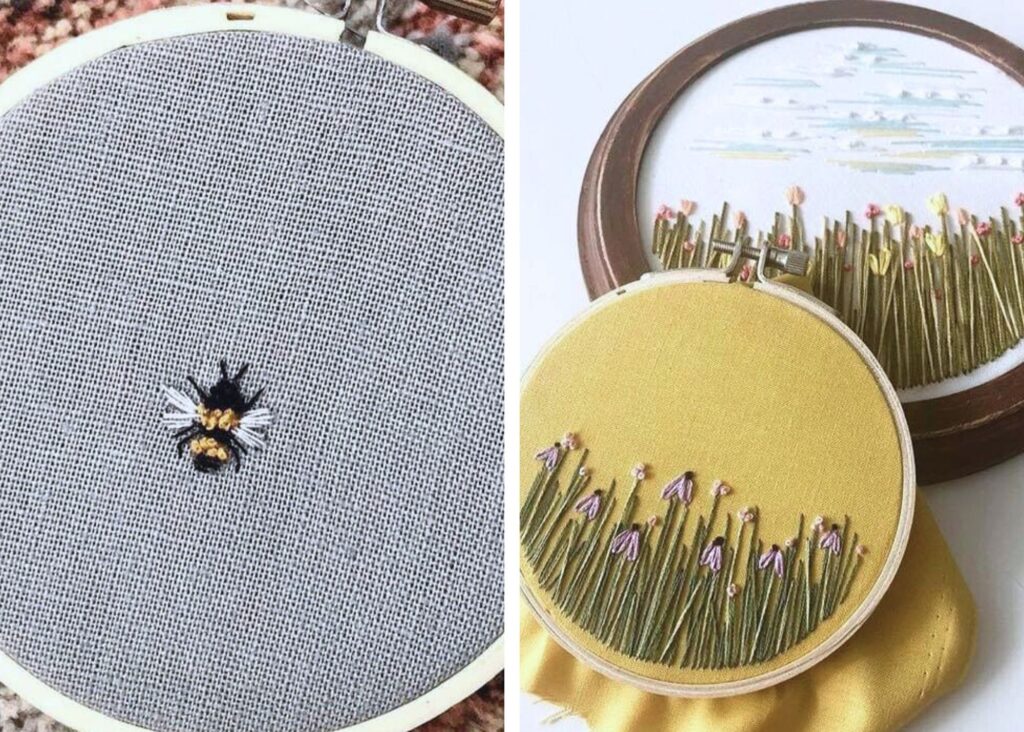
• A mini floral bouquet
Stitch three or four flowers in a cluster — daisies, lavender, small roses — anything simple. Add greenery around it, and you’ve got a gorgeous piece perfect for gifting.
• A sweet monogram hoop
Choose a letter and decorate it with leaves, vines, or tiny florals. These make wonderful gifts for friends, babies, or newlyweds.
• Personalized hand towels
Stitch little motifs like lemons, hearts, mushrooms, or simple florals on plain towels. It’s such an easy upgrade.
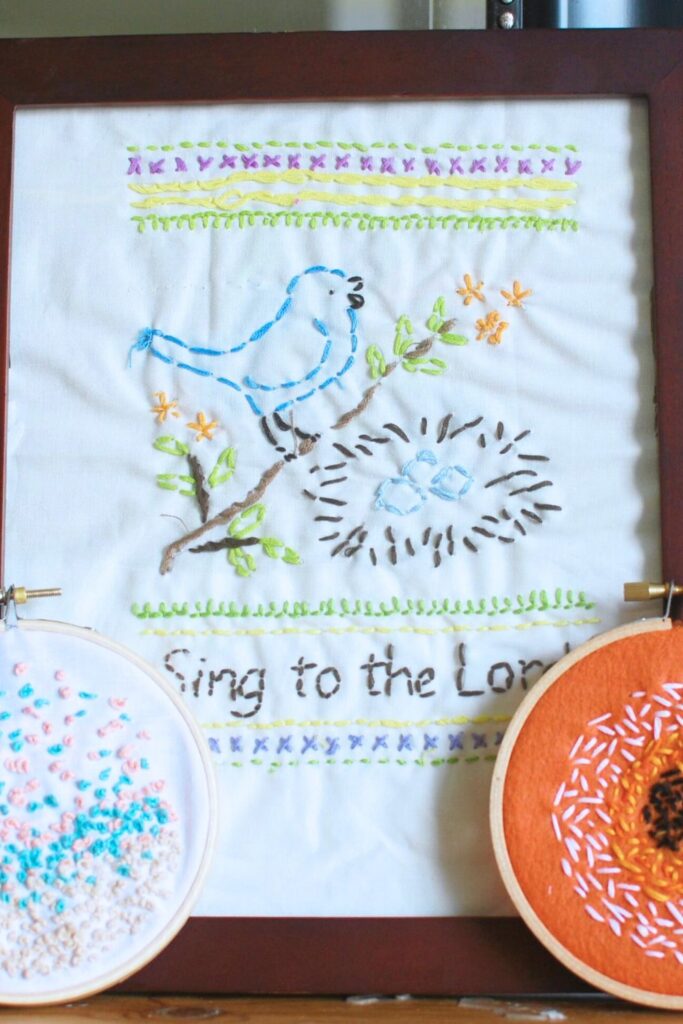
• A quote or word hoop
Pick a word you love — “hope”, “cozy”, or “home” — outline it with backstitch, then add embellishments around it.
• Minimalist line art
One continuous line, like a face or abstract figure. So simple and so stylish.
• Baby name or birth stat hoop
This becomes a treasured keepsake and is really easy to make with basic stitches.
• Holiday embroidery
Tiny Christmas trees, snowflakes, pumpkins, hearts, or stars — these are adorable for seasonal decor.
The magic of embroidery is that you can customize anything — your clothes, your tote bag, your table linens. Start small, then gradually build up to larger or more complex pieces.
Use the Right Tension (This Will Save You So Much Frustration)
Tension is everything in embroidery. Too loose and your stitches will look messy… too tight and your fabric will pucker. I’ve been on both sides of this, trust me.
Here’s what helps:
- Keep your fabric taut in your hoop.
- Pull your stitches gently, not firmly.
- Pause as you stitch to smooth the fabric.
- Re-hoop your fabric if it loosens.
If your fabric puckers at the end, don’t panic — gently steaming the back of your work (without touching the iron to the thread) usually helps relax everything.
Choose the Right Fabric for Success
Fabric plays a huge role in how your finished piece turns out. For beginners, I always recommend:
- Cotton — Smooth, affordable, easy to stitch through.
- Linen — A little more rustic but so beautiful.
- Muslin — A great inexpensive beginner choice.
If you want to embroider clothing, choose fabrics without much stretch. Knit shirts and stretchy sweaters can be embroidered, but they require stabilizer behind the fabric — which is something you can play with once you’re more comfortable.
Transfer Your Pattern the Easy Way
You don’t need anything fancy to get your design onto your fabric. The easiest methods are:
Water-soluble pen
Draw directly on your fabric. When you’re done, rinse lightly and the lines disappear.
Pencil
Works on most lighter fabrics and washes out with gentle soap.
Tracing with a window
Tape your pattern to a window during the day and trace it through your fabric — instant lightbox!
Carbon transfer paper
Perfect for darker fabrics, and very beginner-friendly.
Find the method you love most and stick with it. I still use a simple blue water-soluble pen for nearly everything.
Pick Thread Colors That Make You Smile
Color is the fun part! DMC has hundreds of gorgeous embroidery floss shades, and you can absolutely experiment. If you’re a beginner, choose 3–5 colors that go well together. Here are a few combos I love:
- Soft pink, coral, moss green, and gold
- Lavender, sage, cream, muted blue
- Terracotta, mustard, olive green, cream
- Sky blue, navy, white, tan
You can also look at paint color palettes or Pinterest boards if you’re stuck. Color inspiration is everywhere.
Don’t Fight Your Thread (Here’s What Helps)
Embroidery floss can get tangled, knotted, and twisted if you’re not careful. A few simple habits make a huge difference:
- Work with shorter lengths of thread — about 18 inches.
- Separate your strands (most embroidery floss has 6 strands).
- Use 2–3 strands for most beginner projects.
- Let your needle dangle every few stitches to untwist the floss.
- Store your floss neatly wrapped to prevent tangles.
Once you start using these tricks, your stitching becomes smoother and so much more enjoyable.

Start Slow and Enjoy the Process
One of the biggest tips I give beginners is this: you don’t have to rush. Embroidery is meant to be slow, relaxing, and peaceful. Take your time, play with different stitches, redo something if you don’t love it, and don’t be afraid to make mistakes.
If something comes out uneven, just pull it out and start again. I promise you, every stitch teaches you something. I still redo stitches all the time, and I’ve been embroidering for years.
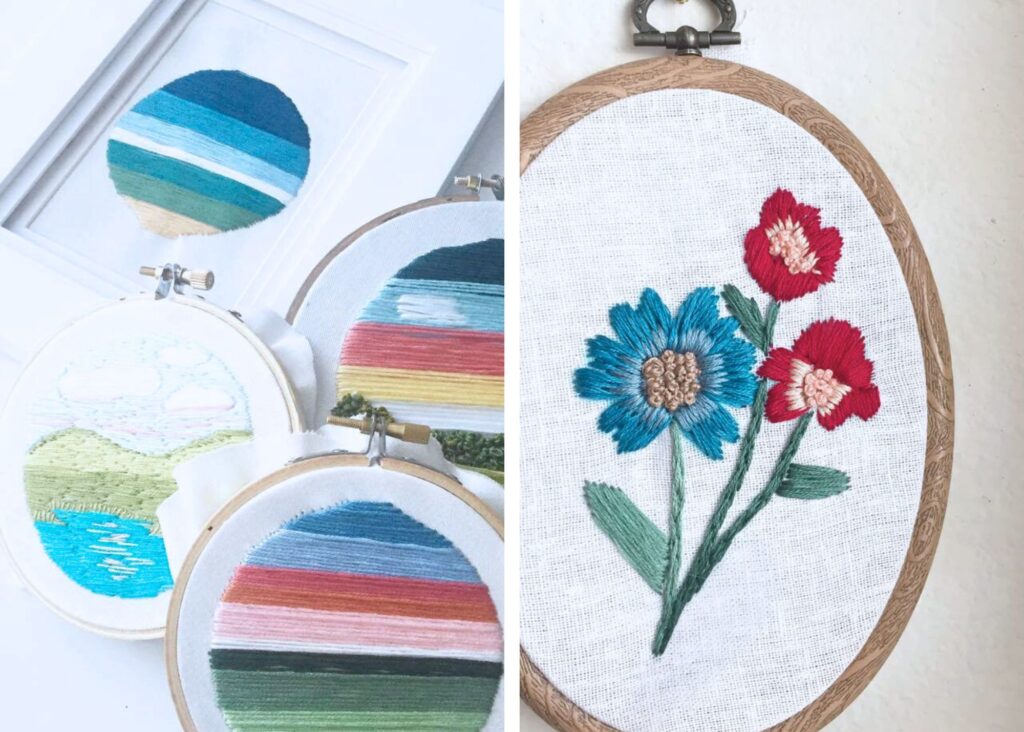
Try Easy Texture Techniques
Once you’re comfortable with the basics, you can play with texture. Some easy techniques beginners can try are:
- Clustered French knots — Perfect for flower centers.
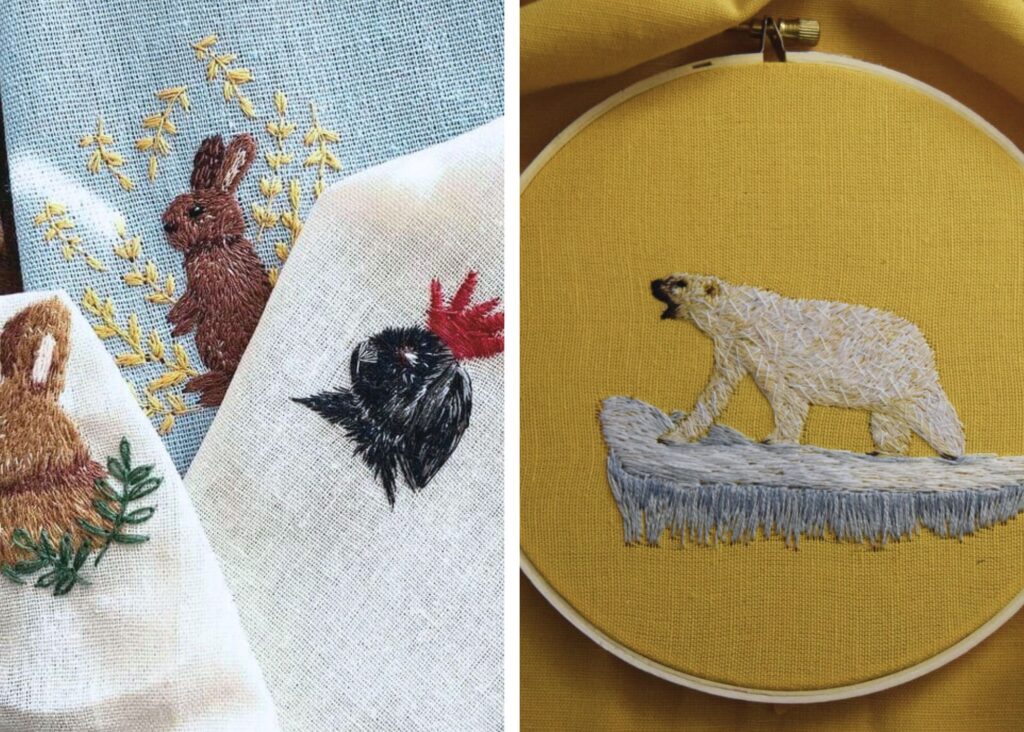
- Thread painting (in small areas) — Using long and short stitches to blend colors.
- Woven wheel flowers — These look advanced but they’re actually super simple.
- Split stitch outlines — Adds a thicker, rope-like outline.
- Layered leaves — Using multiple greens to create dimension.
Start small and build from there. Even adding one textured element will make your project feel elevated.
Use YouTube or PDFs When You Get Stuck
I’m a very visual learner, so I rely on videos and illustrations a lot. You might find that helpful, too. If a stitch doesn’t make sense text-wise, watch someone demonstrate it. It makes everything click so much faster.
PDF stitch guides (like the kind I create!) are great to reference while you’re working so you can go at your own pace without having to pause a video every two seconds.
Finish the Back Neatly (But Don’t Stress About It)
There’s a running joke in the embroidery world about how “real stitchers show their backs.” And honestly? Real backs look messy. But if you want your piece to last for years, you’ll want to finish the back properly once you’re done stitching.
Here’s the easiest way:
- Trim your fabric to about an inch around the hoop.
- Run a gathering stitch around the edge of the fabric.
- Pull it tight so the fabric gathers behind the hoop.
- Tie a knot and cut your thread.
- Add a felt or fabric backing if you want a polished finish.
It’s quick, simple, and looks great — even if your stitching lines underneath aren’t perfect.
Turn Your Embroidery Into Something Useful
Once you’ve made a few hoops, you’ll feel ready to branch out. Here are some beginner-friendly ways to use your embroidery on everyday items:
- Tote bags
- Denim jackets
- Baby onesies
- Clothing patches
- Bookmarks
- Pillow covers
- Tea towels
- Zipper pouches
- Ornaments
- Gift tags
- Wall art (with frames, not hoops!)
It’s so satisfying to wear or use something you stitched with your own hands. And if you ever want to sell your work, embroidered accessories make beautiful shop products.
Give Your Projects As Gifts
Handmade gifts always mean so much more. A simple embroidered monogram, a tiny floral bouquet, or a baby name hoop can be the sweetest, most heartfelt present.
I’ve gifted embroidered pieces for weddings, baby showers, birthdays, and holidays. Every time, people light up when they realize it was handmade. Don’t underestimate the beauty of a simple project done with love.
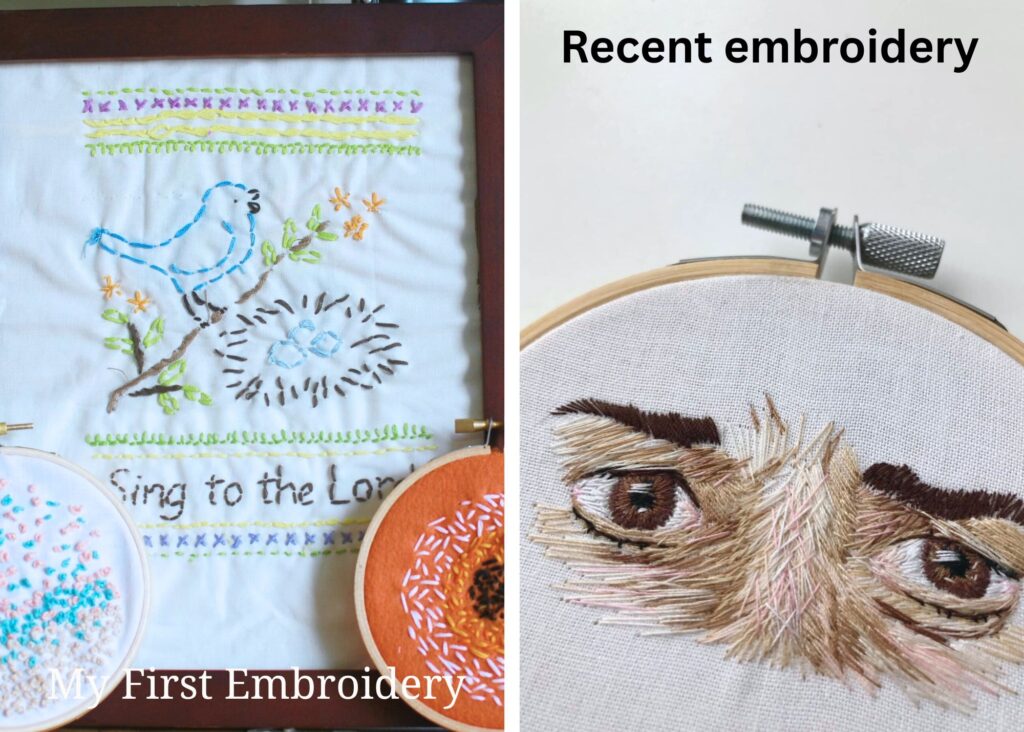
Stick With It — You’ll Get Better with Every Stitch
Every embroiderer starts somewhere. Your first piece won’t look like something off Instagram — mine certainly didn’t. But over time, your hands learn the rhythm. Your eye learns spacing and proportion. Your creativity grows.
Embroidery is one of those hobbies that feels meditative and soulful, and the more you do it, the more you enjoy it. So take your time, embrace the learning process, and celebrate your progress along the way.
If you’re just getting started or returning to the craft after a long break, I hope these beginner-friendly tips and ideas help you fall in love with embroidery the way I did. Grab your hoop, thread your needle, and let’s get stitching.
Pin for later